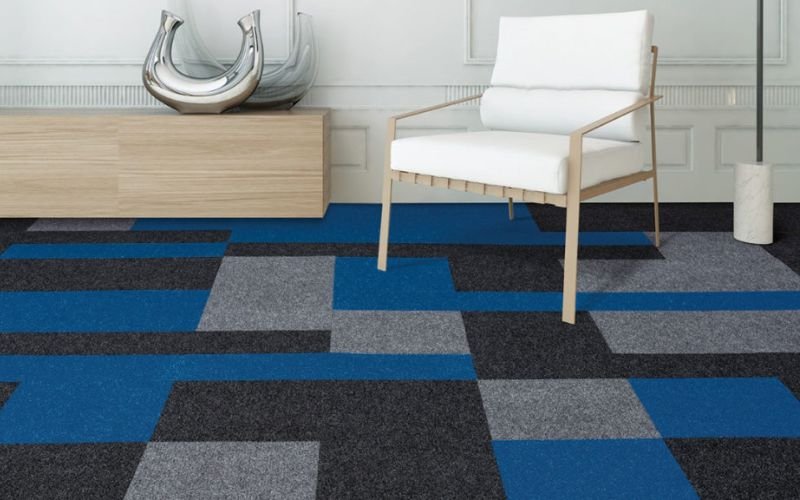
Carpet tiles are an innovative and affordable way to restyle your floor and add more comfort to it. They are much more cost effective than other flooring alternatives including wall to wall carpets. Carpet tiles add a unique element of style to the floor with their modular designs and diverse colors. You can create a custom floor design by arranging the tiles in your preferred layout.
Luckily, carpet tiles can be installed on any type of subfloor. You can go for any type of carpet tiles including interlocking carpet tiles, peel-and-stick carpet tiles, or adhesive tiles. For best results and a plusher feel, we recommend adding an underlay before installing the carpet tiles.
In this blog, we will discuss how to install carpet tiles on the floor.
Tools & Materials Required For Carpet Tile Installation
- Tape Measure
- Gloves
- Carpet Knife
- Putty Knife
- Trowel
- Broom
- Mop
- Meal Tray
- Paint Roller
- Fans
- Chalk Line/Laser Level
- Knee Pads
- Face Mask
- Adhesive
- Metal Ruler/Straightedge
How To Install Carpet Tiles With Adhesive?
Surface Preparation
Preparing the subfloor is key to successful and secure installation. You can start by removing your furniture and other items on the floor. After removing everything, clean the floor with a vacuum or a broom. You can also mop the floor to ensure that there is no debris left. If the floor has any cracks or gaps, fill them and smooth out any bumps to keep an even surface.
Installing carpet tiles on dirty, moist, or grassy floors will not yield good results. So make sure that you don’t overlook the surface preparation to ensure a successful installation.
Layout Planning
Use a measuring tape to measure the whole floor and find the middle of the room. The center of the room can be determined by finding the mid points of all four walls. You can then use a chalk line to intersect lines and determine the center.
Mock Fitting The Tiles
Lay four carpet tiles in the dead center of the floor for a mock fitting. You can lay them so that one corner of each tile is touching the center of the floor. From there on, you can create a pattern of your choice for the carpet tiles. You can go for a monolithic pattern for a straightforward look or a quarter pattern to create visual interest.
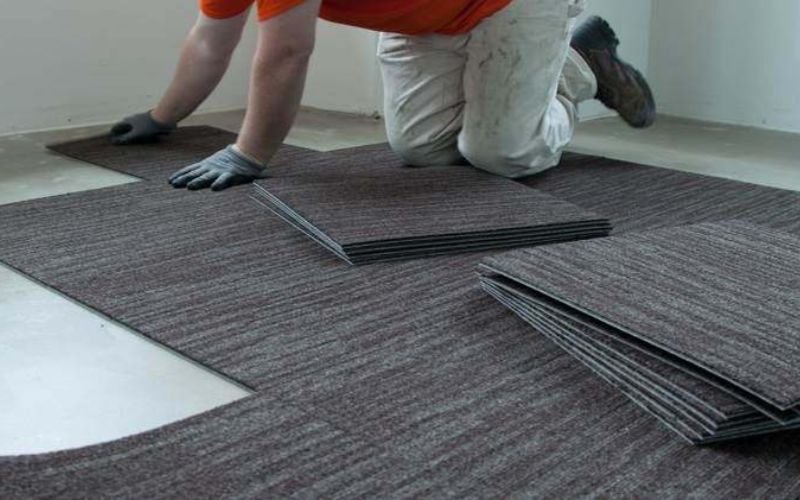
Apply Adhesive & Install Carpet Tiles
Next up, spray or pour some adhesive on the floor and work in small sections. Working in small sections will allow you to install tiles before the adhesive starts drying. If you can, use pressure sensitive adhesive so that you can reposition the tiles if you change your mind in a few seconds. This means that the carpet tiles will not bond with the adhesive unless the pressure is applied from the top. Keep working in sections until you cover the entire floor.
For even application of the adhesive use a paint roller and let the adhesive sit for a few minutes. Once the adhesive gets tacky, then place the carpet tiles over it.
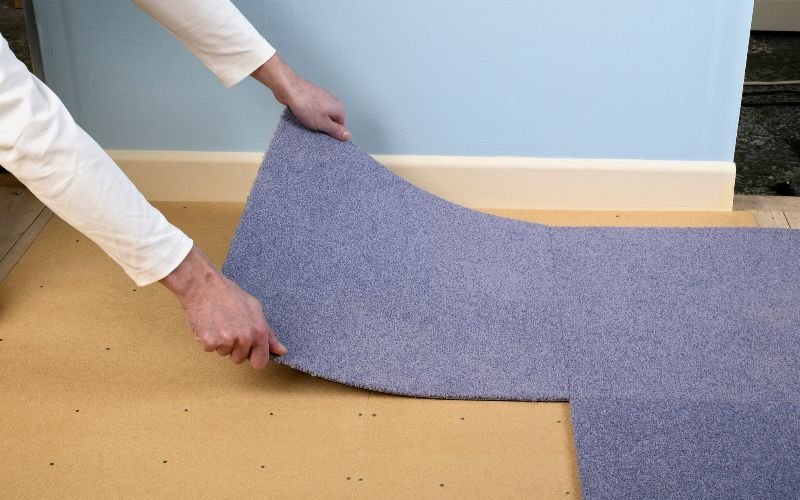
Cut The Carpet Tiles Where Needed
Working from the center of the room means that you will be moving outwards to the walls. When you reach the walls, there’s a chance that you will need to cut the carpet tiles to fit the narrow space. The space left won’t be enough to fit the whole tile, so will need to measure with the tape and cut the tile.
Flip the carpet tile over and mark the area where you need to cut it. Use a sharp knife or a blade to make the cut and then dry-fit the tile. If the tile fits, apply the adhesive and install the tile. Repeat this for all the corners and edges that are still uncovered.
Leave It To Dry
Leave the floor to dry so that the carpet tiles are fully secured to the floor. You can also apply pressure on each carpet tile and all the seams to make sure that they stick to the floor. Leave the floor unused for some time. But, if you can’t, ensure low foot traffic so that the carpet tiles don’t move while the adhesive hasn’t fully dried.
After letting them dry for at least 24 hours, you can clean up the residual adhesive around the edges. You can use a wet mop or an adhesive cleaner to remove it efficiently.
Safety Warnings
Don’t forget to use safety gear so that you don’t hurt yourself during the process. It is important to read safety instructions on the adhesive you are using. Some adhesives have strong odors and release noxious fumes that can be harmful. Ventilate the space properly during and after the application of the adhesive. Make sure to wear gloves and a face mask to protect yourself.
How To Install Peel And Stick Carpet tiles?
Sometimes you need a quick flooring fix and for that peel & stick carpet tiles can be a great choice. These carpet tiles have a built-in adhesive backing, and all you have to do is peel off the plastic sheet for the tile to stick. Next you can just place the carpet tile on the clean floor and press it down to secure it fully.
Here is a step-by-step guide on how to install carpet tiles on the floor.
- Start by measuring the floor using a measure tape and find the center of the room. Mark that point so that you don’t forget it later. It’s best if you draw two intersecting lines, with their center point being the middle of the room. Then draw a quadrant with a chalk line.
- Then, take a carpet tile and pull back its plastic cover to expose the adhesive backing. After that place the carpet tile in any of the four quadrants that you drew on the floor previously.
- Repeat this process for the other three quadrants and keep going until the whole floor is covered. But, around the edges, you won’t be able to fit whole tiles, and that’s where you’ll need to cut the tiles and then lay them.
- For cutting, place a carpet tile upside down and mark the line where the tiles overlap. Cut the carpet tile according to that line and then peel back the plastic cover and lay the tile. Repeat this for all the carpet tiles until all the edges are covered as well.
- Now, you have a new floor, with the carpet tiles of your choice.
How to Install Interlocking Carpet Tiles
Interlocking tiles are rather easier to install because of their puzzle-like appearance. They have interlocking edges on all four sides that click together when two carpet tiles are placed next to each other. Their installation feels like putting together a puzzle. Here is how you can install interlocking carpet tiles.
- You will need to start in one room with a corner tile and work your way from there along the edges. Cover the adjacent walls similarly with the border carpet tiles. Once you have covered the edges, move forward to working to the center of the room.
- Take the center carpet tiles and lay them until you reach the opposite wall. When you reach the wall and can’t fit a whole tile, make a cut on the carpet tile. Make sure that you leave some space for expansion of the tiles. The gap should be roughly the thickness of the carpet tiles to accommodate temperature fluctuations.
- Fit the carpet tiles along the edges and you are done.
- You can apply some pressure by walking all over the floor so the tiles look seamless. This will also secure the interlocking mechanism fully.
Conclusion
Carpet tiles are a modern flooring solution that is also incredibly versatile. They are easy to install and can be replaced easily too. They save your time and can be used in a number of places. The best part is that you can customize the design of your floor with these modular carpet tiles. Perfect for DIYers, these carpet tiles create a soft, welcoming, and personalized floor that brings comfort blended with style.